

Halloween is the perfect time to let your creativity shine, and what better way to do so than by crafting your own Halloween shirts with a Cricut machine? Whether you're planning to trick-or-treat, attend a spooky party, or simply enjoy the Halloween spirit, custom-designed shirts can make your celebration even more fun. In this article, we'll explore some creative Cricut Halloween shirt design ideas and tips to help you craft the perfect spooky attire.
1. Getting Started: Tools and Materials
Before diving into design ideas, it's important to gather the necessary tools and materials. Here’s what you’ll need:
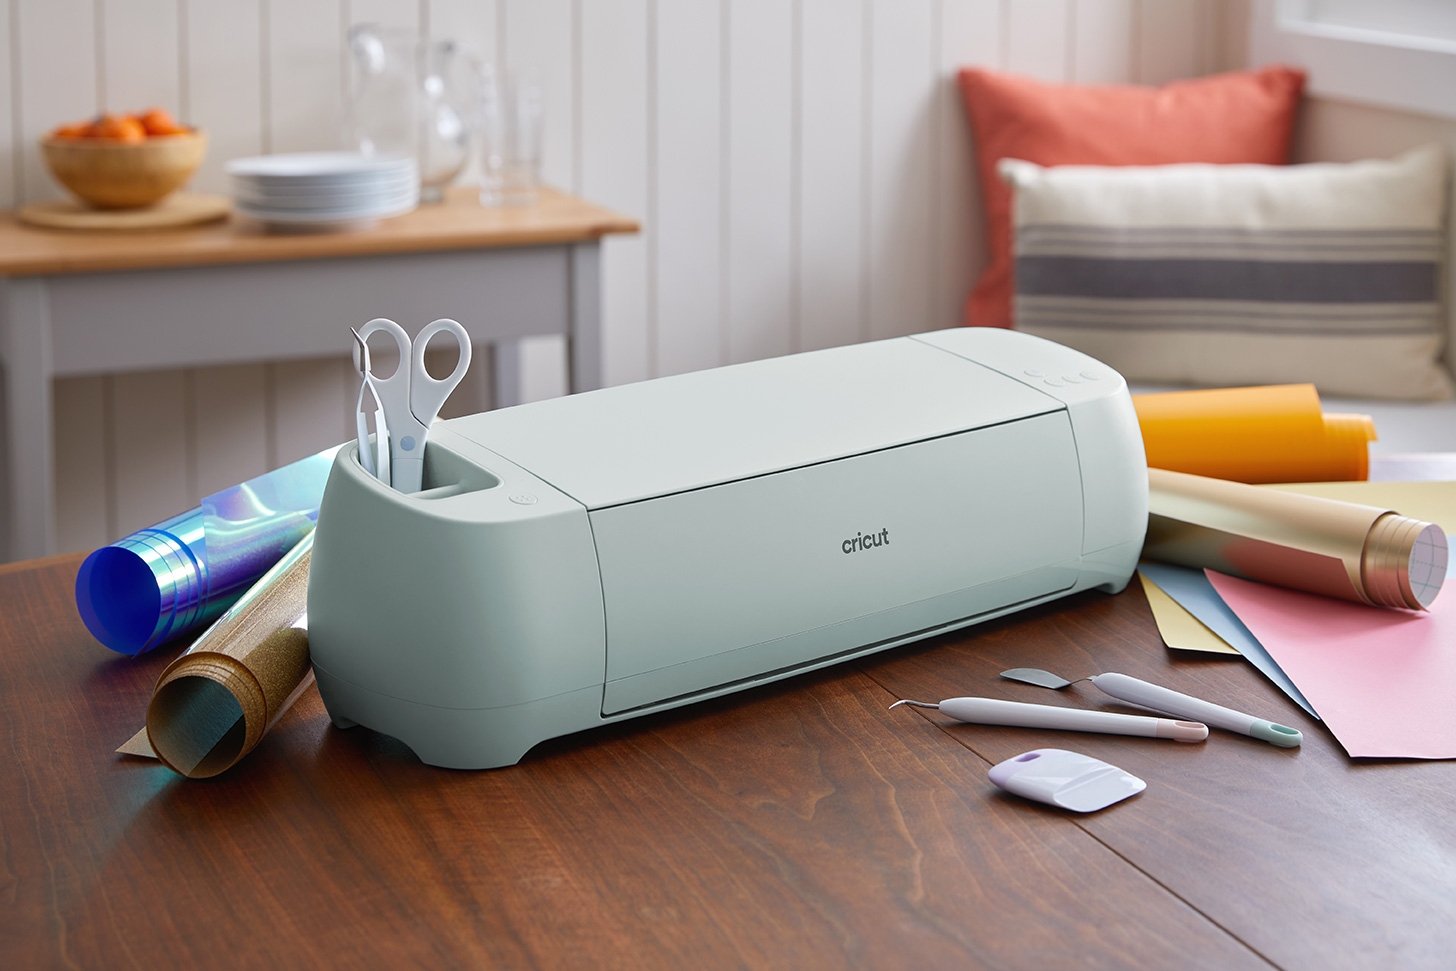
- Cricut Machine: A Cricut Explore, Maker, or Joy will work perfectly for this project.
- Iron-On Vinyl (HTV): Choose from a variety of colors, including classic Halloween shades like black, orange, and purple. Glitter and glow-in-the-dark HTV can add an extra spooky effect.
- Blank Shirts: Opt for plain cotton shirts in any color that complements your design. Black, orange, and white are popular choices for Halloween.
- Weeding Tools: These are essential for removing excess vinyl from your design.
- Heat Press or Iron: You’ll need this to transfer your design onto the shirt.
2. Spooky Designs for Cricut Halloween Shirts
There are countless design possibilities for Halloween shirts. Below are some popular and easy-to-create ideas that will make your shirt stand out.
a) Classic Halloween Icons
Classic Halloween symbols such as pumpkins, bats, witches, and ghosts are timeless and easily recognizable. You can create a simple design with one or a combination of these icons. For example, a smiling pumpkin face on the front of your shirt can be both cute and spooky. Bats flying across the chest or a silhouette of a witch on a broomstick are also great options.
b) Playful Halloween Puns
Halloween puns are a fun way to add humor to your shirt design. Phrases like "Resting Witch Face," "Trick or Treat Yo’ Self," or "Creep It Real" paired with corresponding graphics can make your shirt a hit at any Halloween gathering. You can use different fonts to highlight the pun, making it the focal point of the design.
c) Skeletons and Skulls
For a more eerie look, skeletons and skulls are a popular choice. You can create a full skeleton ribcage design for the front of the shirt or a large skull with intricate details. These designs can be as simple or complex as you like, and adding a metallic or glitter finish can give them a standout look.
d) Haunted House Scenes
If you’re feeling ambitious, consider creating a haunted house scene on your shirt. This can include a spooky house, trees, bats, and a full moon. You can position this design across the entire front of the shirt or focus on a smaller area, such as the pocket or chest.
3. Tips for Designing Your Halloween Shirts
When designing your Halloween shirt with Cricut, keep the following tips in mind to ensure your project is a success:
a) Use High-Quality Vinyl
Invest in high-quality iron-on vinyl to ensure your design lasts. Cheaper vinyl can peel or crack after a few washes, so it's worth spending a little more for a durable finish.
b) Layering Vinyl
If your design has multiple colors, you'll need to layer the vinyl. Start with the base layer and build up, ensuring each layer is pressed and cooled before adding the next. This technique can add depth and dimension to your design, making it more visually appealing.
c) Test Your Design
Before applying your design to your shirt, it's a good idea to do a test cut on scrap material. This allows you to check the size, alignment, and weedability of your design, helping you avoid mistakes on the final product.
d) Heat Settings
Make sure to follow the recommended heat settings for your vinyl type and fabric. Using the correct temperature and pressing time is crucial to ensure your design adheres properly and stays in place.
4. Inspiration and Resources
If you’re struggling to come up with a design, there are plenty of resources available to inspire you. Websites like Pinterest and Etsy are great for finding design ideas, while Cricut Design Space offers a wide range of ready-to-use templates and images specifically for Halloween.
Additionally, you can customize existing designs or create your own from scratch using Cricut Design Space. Experiment with different fonts, images, and layouts to make a unique shirt that reflects your personal style.
5. Adding Extra Spooky Flair
To take your Halloween shirt to the next level, consider adding some extra spooky flair:
a) Glow-in-the-Dark Vinyl
Glow-in-the-dark vinyl is perfect for Halloween. Your shirt will look great during the day and will have an eerie glow in low light, making it perfect for evening events.
b) 3D Elements
Adding 3D elements like fabric paint or appliques can give your shirt a textured look. For example, you could use puffy paint to create raised spider webs or sew on small faux spiders for a creepy-crawly effect.
c) Matching Accessories
Why stop at the shirt? Use your Cricut to create matching accessories like hats, bags, or even socks. Coordinating your entire outfit with the same theme will make your Halloween look cohesive and fun.
6. Conclusion
Creating Cricut Halloween shirts is a fantastic way to get into the spooky spirit while showcasing your creativity. With endless design possibilities, you can craft a unique shirt that’s perfect for any Halloween occasion. Whether you opt for classic icons, playful puns, or intricate scenes, your Cricut machine will help you bring your Halloween vision to life. So, gather your materials, fire up your Cricut, and start crafting the perfect Halloween shirt today!
Cricut Design
cricut designs free download
disney cricut shirt ideas