

How Custom Large Stencils Can Revamp Any Room
Have you ever thought your room could use a makeover but are unsure where to begin? Personalized huge stencils are a great way to update your room without going over budget. These adaptable tools can add a distinctive touch that expresses your style and turns your walls from ordinary to amazing. Are you prepared to transform your room? Let's explore the big impact that personalized Custom Large Stencils can have!
Custom Large Stencils: Why Choose Them?
Custom huge stencils are a popular option for home décor since they provide several benefits.
Individualization
The opportunity to customize your design is one of the main advantages of using custom stencils. Custom options provide you the freedom to select patterns, styles, and sizes that precisely match your idea, unlike pre-made stencils. Custom stencils can realize your ideas, whether you're going for a delicate floral design or a dramatic geometric pattern.
Economical Conversion
It might be costly to paint or hang new wallpaper in a home makeover. Custom stencils provide an inexpensive substitute that can still produce an eye-catching effect. With a few simple supplies and a little imagination, you can make gorgeous wall art that looks just as good as work done by professionals.
Do It Yourself
Custom Large Stencils are perfect for do-it-yourselfers. Stenciling is a great option if you prefer doing things by hand and don't want to deal with hiring experts. By using simple equipment and a little perseverance, you can accomplish stunning achievements on your own.
Creating a Unique Large Stencil
From the first design to the last application, there are multiple phases involved in making a custom big stencil.
Selecting Your Style
Selecting the stencil's design is the initial step. Think about the following:
Room Aesthetics: Consider the room's general design and color palette. Instead of competing with these components, your stencil should enhance them.
Personal Style: Pick a look that is true to who you are. Whichever style—traditional, modern, or eclectic—you choose, your stencil should reflect that preference.
Design Complexity: Simpler designs are frequently the most effective for large stencils. Cutting and applying intricate patterns can be difficult, particularly when done on a big scale.
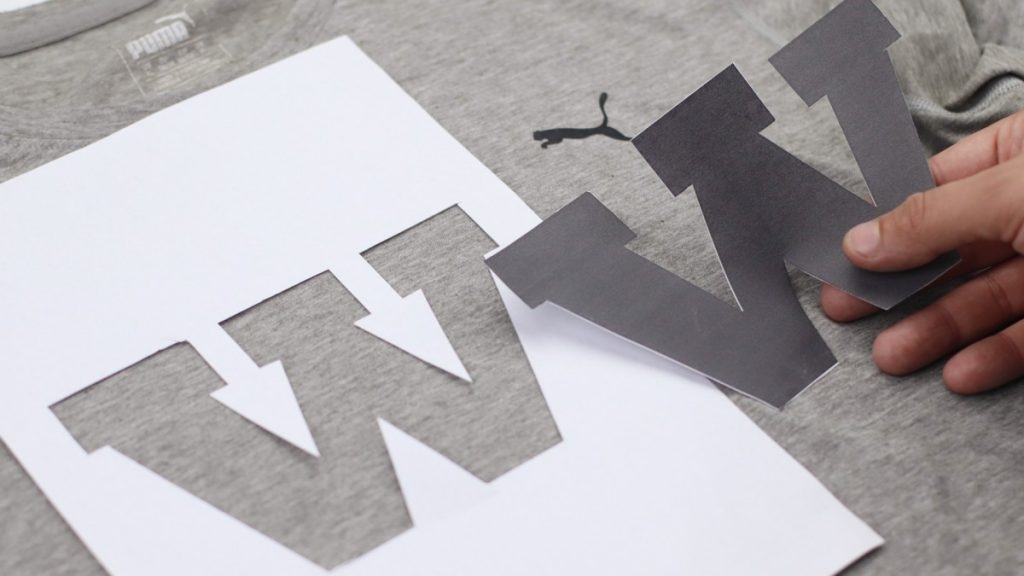
Making the Template
Now that you have a concept in mind, you need to make the stencil.
Draw Your Design: To begin, do a paper sketch of your design. This makes it easier for you to see the finished product and make any necessary revisions.
Transfer to Stencil Material: To transfer the design onto your go stencil material, use your drawing as a template. Popular materials for huge stencils are cardstock or plastic sheets.
Cutting the Stencil: Carefully cut out your pattern with a craft knife or stencil cutter. Accurate patterns and smooth edges depend on precision.
Setting Up Your Space for Stenciling
To get the greatest effects, prepare your space before applying your stencil.
Selecting the Appropriate Wall Surface
Wall Type: Stenciling looks best on smooth, flat walls. Creating a clean design might be challenging on surfaces that are uneven or have texture.
Wall Preparation: Give the wall a thorough cleaning to get rid of any dirt or dust. Before stenciling, if needed, add a new coat of paint and let it cure completely.
Organizing Your Work Area
Use drop cloths and painter's tape to shield nearby furniture and floors from paint splatters.
Make Sure There's Adequate Illumination: Accurate stenciling requires good illumination. To see your design clearly, work in a location with good lighting or add additional illumination.
Use of the Stencil
The exciting phase is about to begin: stencil application on the wall!
Setting Up the Stencil
Measure and Mark: To ensure that your stencil is properly positioned on the wall, use a measuring tape. To guarantee alignment, lightly mark the edges with a pencil.
Put the Stencil in Place: To keep the stencil in place, use painter's tape. Ensure that it is level with the wall to stop paint from leaking underneath.
Using the Stencil to Paint
Select Your Paint: Stenciling is best done with acrylic or latex paint. Choose hues that complement the design of your space.
Apply Paint: Paint can be applied via the stencil using a sponge or stencil brush. To prevent excessive bleeding, lightly dab or roll on the paint.
Taking off the stencil: While the paint is still wet, carefully peel off the stencil. This will lessen the chance of paint smudging.
Including the Final Details
Add a few finishing touches to complete the look once the stencil has been placed.
Retouching
Fix Errors: Using a tiny brush, erase any smudges or defects that you find.
Additional Information: To make your stencil design pop, think about using some additional information or highlights.
How to Store and Clean Your Stencil
Clean the Stencil: To avoid paint drying on your stencil, wash it right away after using it. Use a gentle brush and warm, soapy water.
Store Correctly: To ensure that your stencil remains in good shape for next uses, store it flat in a cold, dry location.
Typical Errors to Steer Clear of
The following are typical dangers and tips for avoiding them:
Brush Overload
Paint that is applied excessively may bleed under the stencil. Apply a thin layer of paint and gradually increase the coverage.
Failure to Secure the Stencil
Take care that the stencil is firmly affixed to the wall so that paint does not leak underneath. To firmly hold it in place, use painter's tape.
Ignoring the Trial Run
Before using your stencil on your wall, make sure it works well on a piece of paper or cardboard. This enables you to modify and steer clear of errors on your primary surface.
Summary
Custom Large Stencils are an excellent way to revitalize any space. They can be an enjoyable do-it-yourself job and provide a distinctive, affordable way to customize your area. You may create amazing effects with your stencils that will make everyone who sees them envious of your walls by carefully planning, applying, and finishing them. Why then wait? Gather your supplies and go to work remodeling your room right now!