

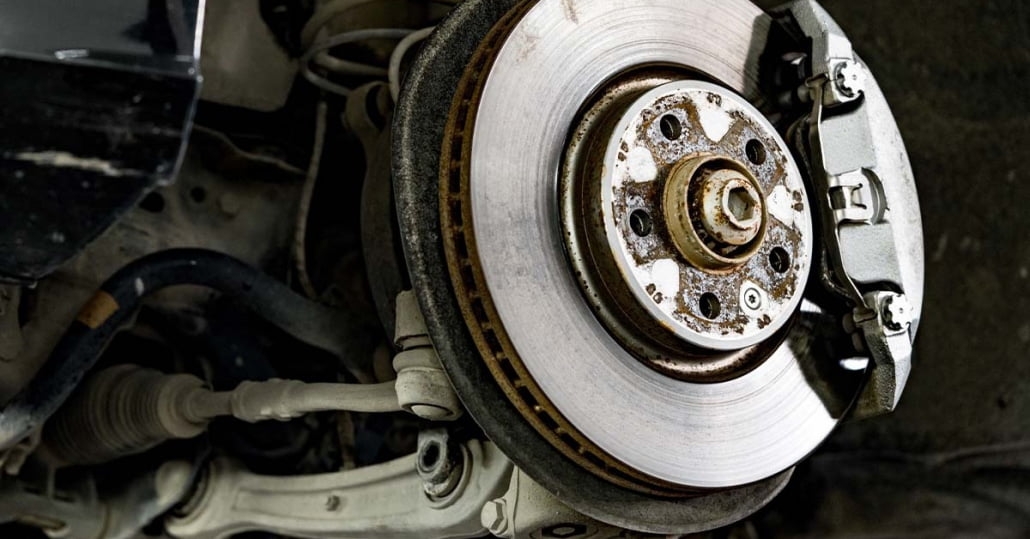
Brake pads are one of the most critical components in your vehicle’s braking system. Over time, they wear down and need to be replaced to ensure your car stops safely. While this might seem like a job for a professional mechanic, it’s actually something you can do yourself with the right tools and knowledge. This step-by-step guide will walk you through the process of replacing your brake pads, saving you money and giving you a better understanding of your vehicle’s maintenance needs.
Tools and Materials You’ll Need:
Before you begin, gather the following tools and materials:
- New brake pads (specific to your vehicle’s make and model)
- Jack and jack stands
- Lug wrench
- C-clamp or brake caliper tool
- Socket and ratchet set
- Torque wrench
- Brake cleaner
- Gloves and safety glasses
- Wheel chocks
Having the right tools on hand is essential for a smooth process. Double-check that the brake pads you’ve purchased match your vehicle to avoid any issues during installation.
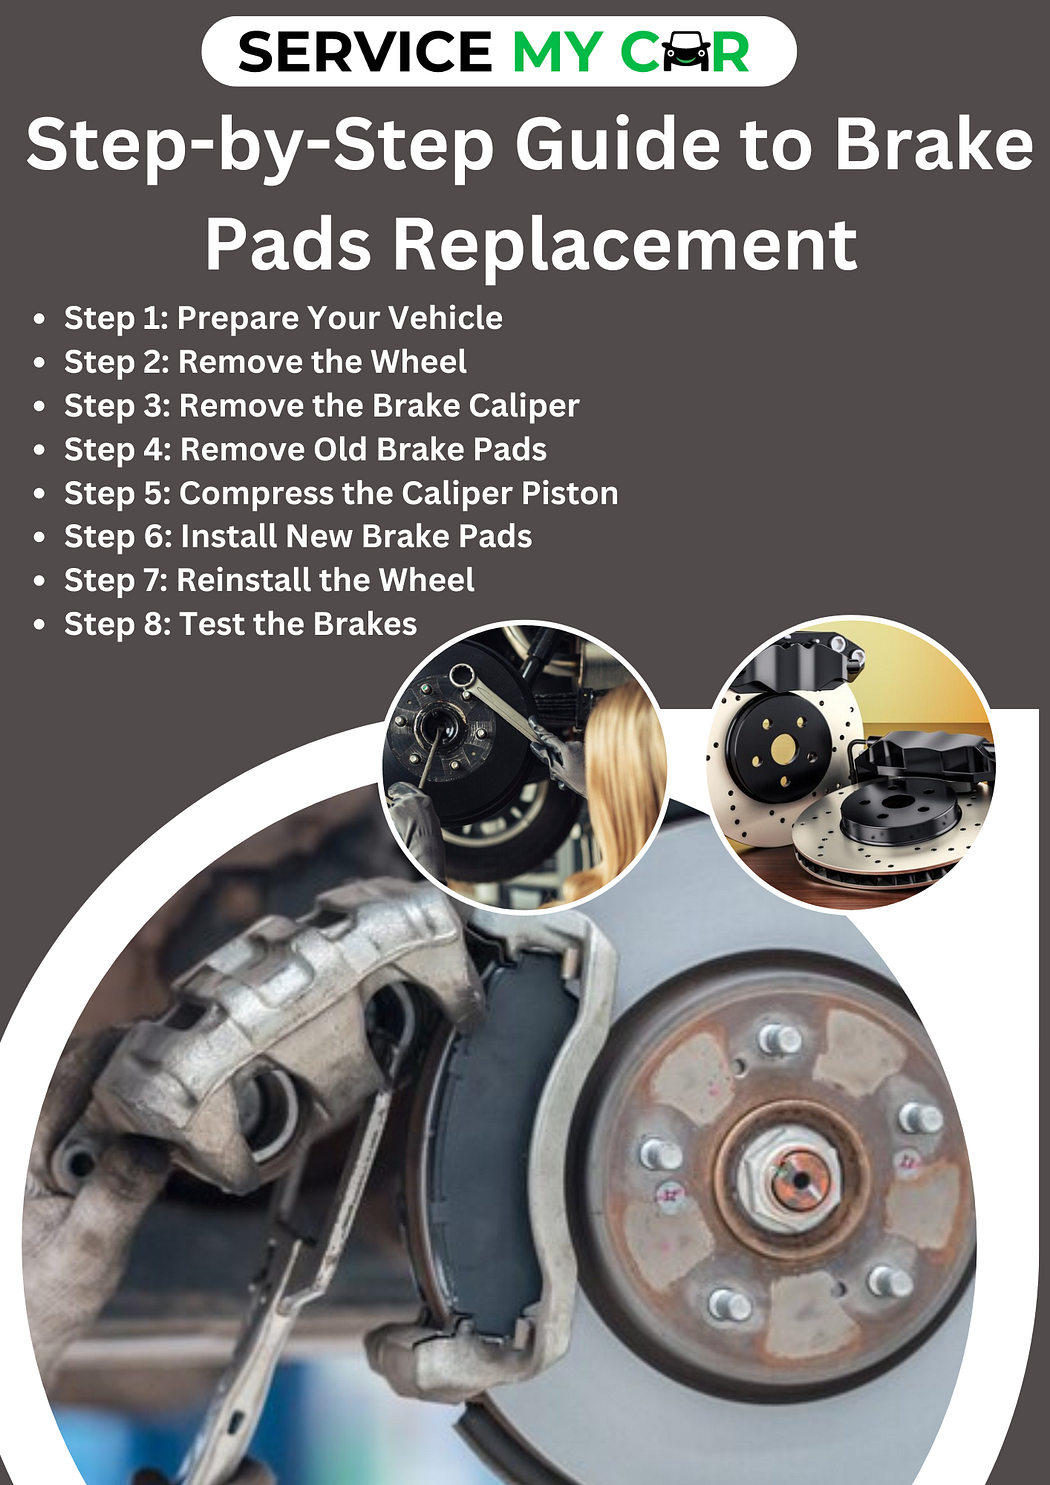
Step 1: Prepare Your Vehicle

Start by ensuring your car is in a safe position. Park on a flat, level surface and engage the parking brake to prevent the vehicle from rolling. Place wheel chocks behind the rear wheels for added security.
Next, use a lug wrench to slightly loosen the lug nuts on the wheels where you’ll be replacing the brake pads. Don’t remove them entirely just yet — loosening them now will make it easier to remove the wheel once the car is lifted.
With the lug nuts loosened, it’s time to lift your vehicle. Position the jack under the car’s designated jack points (refer to your owner’s manual if you’re unsure where these are) and raise the car until the wheel is off the ground. Once lifted, place jack stands under the car to securely support it. Lower the car onto the jack stands, ensuring it’s stable before moving forward.
Safety Tip:
Never rely solely on a jack to support your vehicle while working underneath it. Always use jack stands for added safety.
Step 2: Remove the Wheel

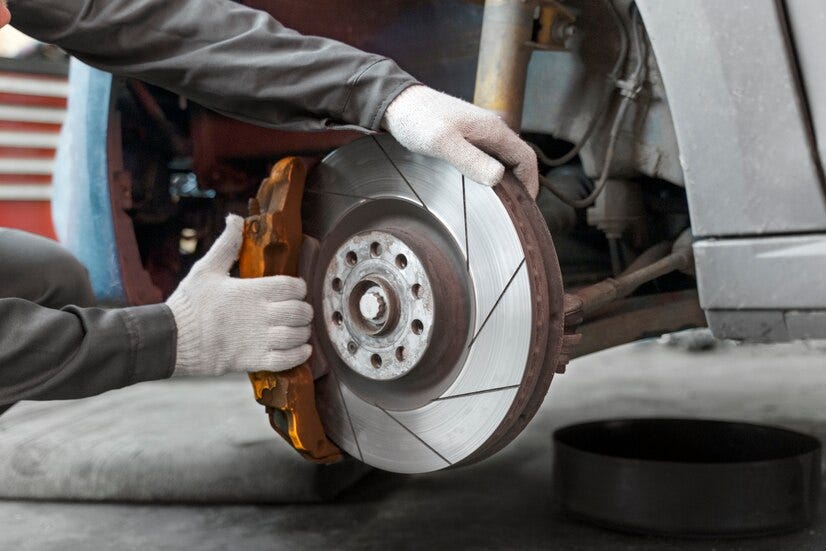
With the car securely lifted, finish removing the loosened lug nuts and take off the wheel. Set the wheel aside in a safe place, as you’ll need to reinstall it later. Removing the wheel exposes the brake caliper and rotor, giving you access to the brake pads.
Step 3: Remove the Brake Caliper

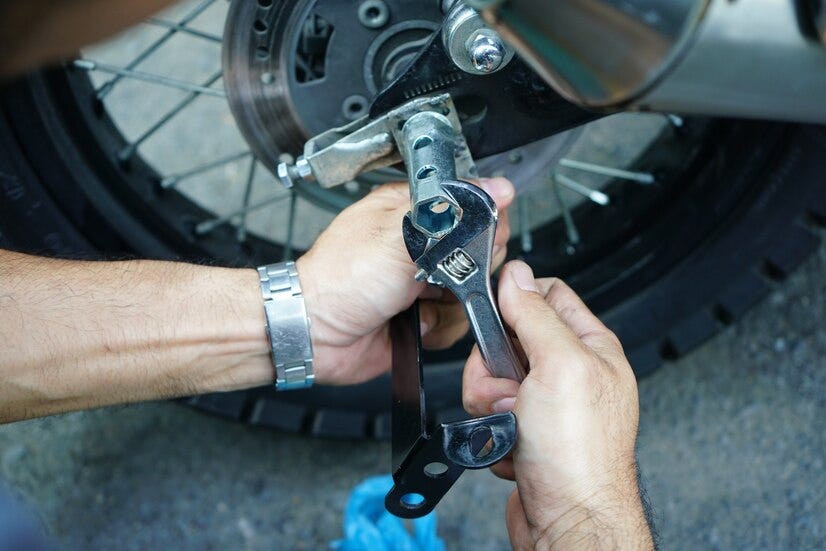
The brake caliper is the component that houses the brake pads. To access the pads, you’ll need to remove the caliper. Locate the caliper bolts on the back of the caliper. Using a socket and ratchet, carefully remove these bolts.
Once the bolts are removed, gently slide the caliper off the rotor. Be careful not to let the caliper hang by the brake line, as this can cause damage. Instead, use a bungee cord to hang the caliper from the suspension, or rest it on a nearby surface.
Pro Tip:
Before removing the old brake pads, take a moment to observe their positioning. This will help when it’s time to install the new pads.
Step 4: Remove Old Brake Pads

With the caliper removed, you can now slide the old brake pads out of the caliper bracket. Take a moment to inspect them for wear. If the pads are worn unevenly, this could indicate issues with your brake system that may need attention beyond just replacing the pads.
Step 5: Compress the Caliper Piston
Before you can install the new brake pads, you’ll need to compress the caliper piston. This is necessary because the new pads are thicker than the worn-out ones, and the piston needs to be retracted to make space.
Use a C-clamp or a brake caliper tool to slowly compress the piston back into the caliper. Be sure to go slowly and carefully to avoid damaging the caliper. This step is crucial for ensuring that the new pads will fit correctly and function properly.
After compressing the piston, it’s a good idea to spray the caliper with brake cleaner to remove any dirt or debris.
Step 6: Install New Brake Pads
Now it’s time to install the new brake pads. Slide them into the caliper bracket, making sure they’re properly aligned and seated. Once the new pads are in place, reposition the brake caliper over the rotor and pads.
Reinstall the caliper bolts, tightening them securely. If you have a torque wrench, use it to tighten the bolts to the manufacturer’s recommended torque specifications. This ensures that the caliper is properly secured.
Step 7: Reinstall the Wheel

With the new brake pads in place and the caliper securely reinstalled, it’s time to put the wheel back on. Align the wheel with the hub and hand-tighten the lug nuts to hold it in place.
Use the jack to lift the vehicle slightly, just enough to remove the jack stands. Carefully lower the car back to the ground. Once the car is fully lowered, use a torque wrench to fully tighten the lug nuts in a crisscross pattern. This ensures even pressure and proper wheel alignment.
Step 8: Test the Brakes
Before hitting the road, it’s crucial to test the brakes. Start by pumping the brake pedal a few times while the car is still stationary. This helps seat the new pads against the rotor.
Next, take your car for a short test drive in a safe area. Listen for any unusual noises and ensure that the brakes feel firm and responsive. If everything checks out, you’ve successfully replaced your brake pads!
How Service My Car Assist You?
Wondering where to find top-notch car detailing dubai? Look no further! Service My Car has you covered with premium car detailing in Dubai, ensuring your vehicle shines inside and out. Our meticulous attention to detail guarantees a showroom-worthy finish, leaving your car looking pristine and refreshed. Trust Service My Car for unparalleled expertise and professionalism in car detailing, ensuring your ride stands out on the streets of Dubai.
Conclusion
Replacing your brake pads is a task that, with a little patience and the right tools, you can accomplish yourself. Not only does it save you money, but it also gives you the satisfaction of maintaining your vehicle. Remember to always prioritize safety and follow the steps carefully.