

Master HP Printer Scanning: A Complete Guide to Digitizing Documents with Ease
In today's digital age, scanning documents has become an essential task for many. HP printers offer convenient scanning capabilities, allowing users to digitize documents effortlessly. This comprehensive guide will walk you through the process of how to scan from HP printer to computer. We'll cover various methods, troubleshooting tips, and best practices to ensure you get the most out of your HP printer's scanning features.
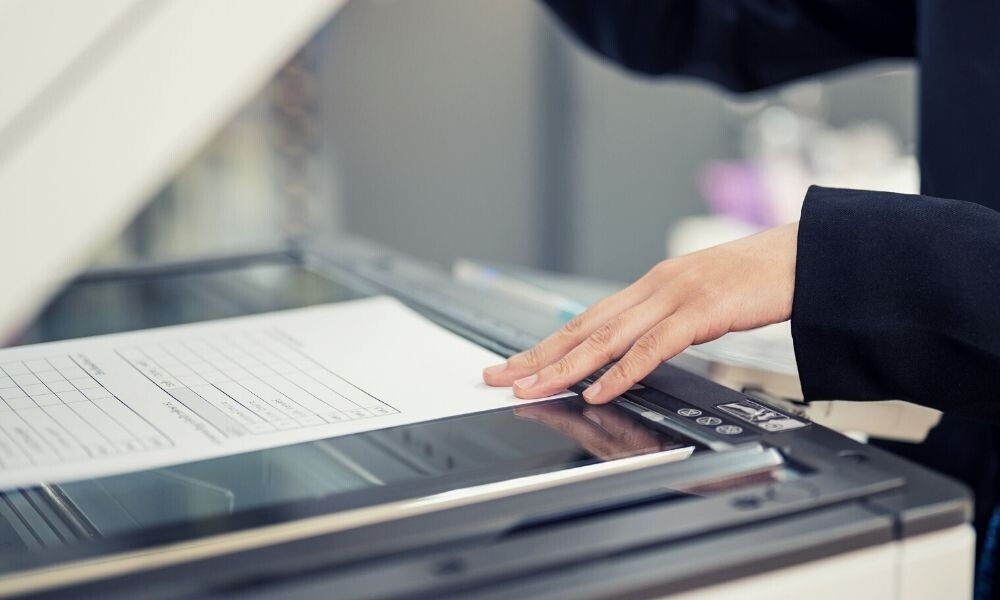
Understanding Your HP Printer's Scanning Capabilities
Before diving into the scanning process, it's crucial to familiarize yourself with your HP printer's capabilities. Most HP printers come with built-in scanners, but features may vary between models. Here's what you need to know:
- Check if your printer has a flatbed scanner or an automatic document feeder (ADF).
- Determine the maximum scanning resolution supported by your printer.
- Verify if your printer supports wireless scanning or requires a USB connection.
- Identify the file formats your printer can save scanned documents in.
- Confirm whether your printer has a control panel for initiating scans directly.
Understanding these aspects will help you choose the most suitable scanning method for your needs.
Preparing Your Computer for Scanning
To ensure a smooth scanning experience, you'll need to prepare your computer. Follow these steps:
- Install the latest HP printer drivers on your computer.
- Download and install HP scanning software if it's not already present.
- Ensure your computer has sufficient storage space for scanned documents.
- Create a dedicated folder on your computer for organizing scanned files.
- Check that your computer's operating system is up to date.
With your computer properly set up, you're ready to start scanning.
Method 1: Scanning Using HP Scan Software
HP Scan software offers a user-friendly interface for scanning documents. Here's how to use it:
- Open the HP Scan software on your computer.
- Place your document on the scanner bed or in the ADF.
- Select the type of document you're scanning (e.g., photo, document, PDF).
- Choose your desired scan settings, such as resolution and color mode.
- Click the "Scan" button to begin the scanning process.
- Preview the scanned document and make any necessary adjustments.
- Save the scanned file to your chosen location on the computer.
This method provides great control over scan settings and is ideal for most users.
Method 2: Scanning from the Printer's Control Panel
Many HP printers allow you to initiate scans directly from the device. Here's how:
- Place your document on the scanner bed or in the ADF.
- Navigate to the "Scan" option on your printer's control panel.
- Select your desired scan settings if prompted.
- Choose the destination computer from the list of connected devices.
- Press the "Scan" button to start the scanning process.
- The scanned document will be sent to your computer automatically.
This method is convenient when you're already at the printer and prefer a quick scan.
Method 3: Scanning Using Windows Fax and Scan
Windows users can utilize the built-in Fax and Scan utility. Follow these steps:
- Open Windows Fax and Scan from the Start menu.
- Click on "New Scan" in the top-left corner of the window.
- Ensure your HP printer is selected as the scanning device.
- Adjust the scan settings according to your preferences.
- Click "Preview" to check the scan area and make adjustments if needed.
- Click "Scan" to start the scanning process.
- Save the scanned document to your desired location on the computer.
This method is useful if you prefer using native Windows applications.
Method 4: Scanning Using macOS Preview
Mac users can scan documents using the built-in Preview application. Here's how:
- Open Preview on your Mac.
- Click on "File" in the menu bar and select "Import from [Your HP Printer]."
- Adjust the scan settings in the dialog box that appears.
- Click "Scan" to begin the scanning process.
- Preview the scanned document and make any necessary adjustments.
- Save the scanned file to your chosen location on the Mac.
This method provides a seamless scanning experience for Mac users.
Wireless Scanning: Connecting Your HP Printer to Wi-Fi
Many modern HP printers support wireless scanning. To set this up:
- Ensure your HP printer is connected to the same Wi-Fi network as your computer.
- Open your printer's control panel and navigate to the network settings.
- Select your Wi-Fi network and enter the password if prompted.
- Wait for the printer to establish a connection with the network.
- Install any necessary wireless scanning software on your computer.
Once connected, you can scan documents without physical cables, offering greater flexibility.
Troubleshooting Common Scanning Issues
Sometimes, you may encounter issues when scanning. Here are some common problems and solutions:
- If the scanner isn't detected, try restarting both the printer and computer.
- For poor scan quality, clean the scanner glass and increase the resolution settings.
- If wireless scanning fails, ensure both devices are on the same network.
- For paper jams in the ADF, gently remove the paper and reload it.
- If scans appear crooked, align the document properly on the scanner bed.
Don't hesitate to consult your printer's manual or HP's support website for more specific issues.
Optimizing Scan Quality
To get the best results from your scans, consider these tips:
- Choose the appropriate resolution based on your document type.
- Use the document feeder for multi-page documents to save time.
- Clean the scanner glass regularly to prevent smudges and streaks.
- Adjust brightness and contrast settings for optimal readability.
- Use the "Text" mode for documents with mostly text to improve clarity.
These optimizations will help ensure your scanned documents are clear and professional-looking.
Organizing and Managing Scanned Documents
Proper organization of scanned files is crucial for easy retrieval. Consider these strategies:
- Create a logical folder structure for different types of scanned documents.
- Use descriptive file names that include dates and relevant information.
- Implement a tagging system to categorize scanned files for quick searches.
- Regularly back up your scanned documents to prevent data loss.
- Consider using document management software for large volumes of scans.
Good organization habits will save you time and frustration in the long run.
Scanning Multiple Pages into a Single PDF
Many HP printers allow you to scan multiple pages into one PDF. Here's how:
- Place your multi-page document in the PDF.
- Select the "Scan to PDF" option in your scanning software.
- Choose "Multi-page" or "Document" mode if available.
- Start the scan and let the ADF process all pages.
- Review the scanned document and save it as a single PDF file.
This feature is particularly useful for scanning lengthy documents or reports.
Using OCR Technology for Editable Text
Optical Character Recognition (OCR) can convert scanned text into editable format. To use OCR:
- Check if your HP scanning software includes built-in OCR capabilities.
- If not, download and install a reputable OCR software.
- Scan your document using high resolution for best results.
- Open the scanned file in your OCR software.
- Follow the software's instructions to convert the image to editable text.
OCR is invaluable for digitizing and editing printed documents efficiently.
Scanning Photos and Artwork
When scanning photos or artwork, special considerations are necessary:
- Use the highest resolution available for detailed scans.
- Clean the scanner glass thoroughly to avoid dust and scratches.
- Place photos face down on the scanner bed, avoiding the edges.
- Use the "Photo" or "Color" mode in your scanning software.
- Adjust color settings to match the original as closely as possible.
These tips will help preserve the quality and detail of your scanned images.
Securing Sensitive Scanned Documents
When scanning confidential information, take these security measures:
- Use password protection when saving sensitive PDFs.
- Enable encryption options if available in your scanning software.
- Avoid saving sensitive scans to shared or public folders.
- Delete temporary scan files from your computer after use.
- Consider using secure cloud storage for important scanned documents.
Protecting your scanned information is crucial in preventing unauthorized access.
Scanning to Cloud Storage Services
Many HP printers support scanning directly to cloud storage. To set this up:
- Enable cloud scanning features in your printer's settings.
- Link your preferred cloud storage account (e.g., Google Drive, Dropbox).
- Select the cloud storage option when initiating a scan.
- Choose the destination folder within your cloud storage.
- Scan your document, and it will be uploaded automatically.
This feature provides convenient access to your scans from any device.
Maintaining Your HP Printer's Scanner
Regular maintenance ensures optimal scanning performance. Follow these tips:
- Clean the scanner glass weekly with a soft, lint-free cloth.
- Keep the PDF clean and free from paper debris.
- Update your printer's firmware regularly for improved functionality.
- Check and replace scanner lamps if image quality deteriorates.
- Calibrate the scanner periodically for accurate color reproduction.
Proper maintenance will extend the life of your scanner and ensure consistent quality.
Exploring Advanced Scanning Features
Many HP printers offer advanced scanning capabilities. Here are some to explore:
- Auto-crop functionality for precise document scanning.
- Text enhancement features for improved readability.
- Blank page detection and removal in multi-page scans.
- Automatic color detection for mixed color and black-and-white documents.
- Scan to email functionality for quick document sharing.
Familiarize yourself with these features to maximize your printer's scanning potential.
Scanning Large Documents
For documents larger than the scanner bed, try these techniques:
- Use scanning software that supports stitching multiple scans together.
- Scan the document in sections, overlapping each scan slightly.
- Utilize the software's stitching feature to combine the scanned sections.
- Alternatively, reduce the document size using a copier before scanning.
- Consider using a large-format scanner for frequently oversized documents.
These methods allow you to digitize documents of any size effectively.
Comparing File Formats for Scanned Documents
Choose the right file format based on your needs:
- Use JPEG for photos and simple graphics.
- Opt for PNG when you need high-quality images with transparency.
- Choose PDF for multi-page documents and easy sharing.
- Select TIFF for high-quality scans that maintain original formatting.
- Use plain text format when you only need the textual content.
Understanding these formats helps you select the best option for each scan.
Integrating Scanned Documents into Your Workflow
Maximize efficiency by integrating scans into your work processes:
- Set up automatic filing systems based on document types.
- Use scanned documents in digital signature workflows.
- Implement OCR to make scanned text searchable in document management systems.
- Create templates for frequently scanned forms or documents.
- Utilize batch scanning for processing multiple documents quickly.
Effective integration can significantly streamline your document management processes.
Conclusion
Scanning from your HP printer to your computer doesn't have to be complicated. With the right knowledge and techniques, you can efficiently digitize your documents and photos. Remember to choose the method that best suits your needs and take advantage of your printer's advanced features. Regular maintenance and proper organization will ensure a smooth scanning experience. By following this guide, you'll be well-equipped to handle all your scanning needs with confidence and ease.