

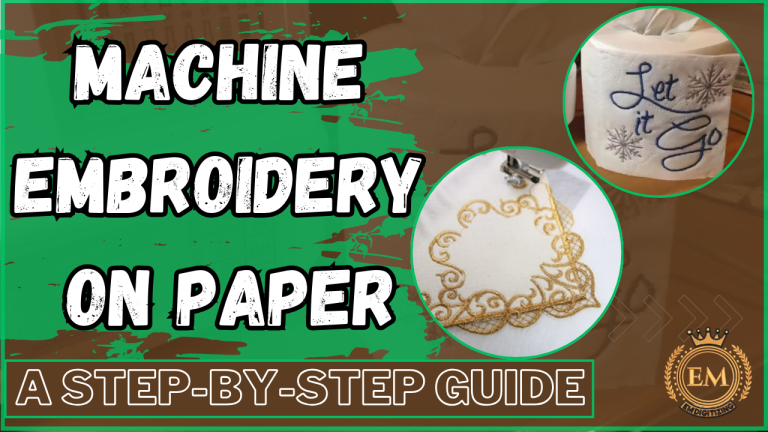
Machine embroidery on paper is a unique and creative way to combine the intricate beauty of embroidery with the delicate charm of paper. This technique can be used to create stunning greeting cards, scrapbooking elements, and other decorative items. In this guide, we will walk you through the process of machine embroidery on paper, incorporating essential tips on machine embroidery digitizing and digitizing embroidery designs. We will also address frequently asked questions to help you achieve the best results.
Why Embroider on Paper?
Embroidering on paper offers a different texture and appearance compared to traditional fabric embroidery. It adds a sophisticated and handmade touch to various projects. Paper embroidery is perfect for personalized gifts, special occasion cards, and unique art pieces. The rigidity of paper provides a different challenge and satisfaction for embroidery enthusiasts.
Materials Needed for Embroidering on Paper
Before you begin, gather the necessary materials:
- Embroidery Machine: A reliable embroidery machine suitable for detailed work.
- Embroidery Paper: High-quality, thick paper such as cardstock. Avoid using thin paper as it can tear easily.
- Stabilizer: A tear-away stabilizer to support the paper during stitching.
- Embroidery Thread: Choose threads that complement your design.
- Needles: Use a sharp needle designed for embroidery on paper to prevent tearing.
- Design Software: Machine embroidery digitizing software to create or modify designs.
- Scissors: Sharp scissors for cutting threads and stabilizer.
- Tape or Adhesive Spray: To secure the paper to the stabilizer.
Step-By-Step Guide to Machine Embroidery on Paper
Step 1: Prepare Your Design
- Select or Create a Design: Choose a design that suits your project. For intricate and detailed designs, use machine embroidery digitizing software to create or modify the design.
- Digitize the Design: If you are creating your own design, digitize it using your software. Ensure the design is suitable for paper, with less dense stitches to avoid perforating the paper.
Step 2: Prepare the Paper and Stabilizer
- Cut the Paper: Cut the paper to the desired size. Ensure it fits within the embroidery hoop.
- Attach the Stabilizer: Cut a piece of tear-away stabilizer slightly larger than the paper. Use tape or adhesive spray to secure the paper to the stabilizer. This prevents movement during embroidery.
Step 3: Set Up Your Embroidery Machine
- Hoop the Paper and Stabilizer: Carefully hoop the paper and stabilizer together. Ensure the paper is taut but not stretched to avoid tears.
- Load the Design: Transfer your digitized design to the embroidery machine. Adjust the settings according to the thickness of the paper.
Step 4: Embroider the Design
- Start Embroidering: Begin the embroidery process. Monitor the machine closely to ensure the paper does not tear. Pause occasionally to check for any issues.
- Trim Excess Threads: Trim any loose threads as you go to keep the design neat.
Step 5: Finish the Embroidery
- Remove from Hoop: Once the embroidery is complete, carefully remove the paper and stabilizer from the hoop.
- Tear Away Stabilizer: Gently tear away the stabilizer from the back of the paper.
- Final Touches: Trim any remaining threads and make any necessary adjustments to the design.
Tips for Successful Embroidery on Paper
- Choose the Right Paper: Use thick, high-quality paper such as cardstock to prevent tearing.
- Use a Sharp Needle: A sharp needle designed for embroidery on paper will reduce the risk of tearing.
- Adjust Stitch Density: Lower stitch density to prevent perforating the paper. Test your design on a scrap piece of paper first.
- Monitor the Process: Keep an eye on the embroidery machine to catch any issues early.
Machine Embroidery Digitizing: Key Considerations
Machine embroidery digitizing is crucial for creating designs suitable for paper embroidery. Here are some key considerations:
- Software Selection: Choose a digitizing software that offers a variety of stitch types and easy editing tools.
- Design Adaptation: Adapt designs to suit paper by reducing stitch density and simplifying intricate details.
- Testing: Always test your digitized designs on scrap paper to ensure they stitch out correctly.
Digitizing Embroidery Designs: Best Practices
When digitizing embroidery designs for paper, follow these best practices:
- Start with Simple Designs: Begin with simple designs to get a feel for how your machine handles paper.
- Use Appropriate Stitches: Satin stitches and running stitches work well on paper. Avoid heavy fill stitches.
- Consider Stitch Direction: Plan the stitch direction to minimize the risk of tearing the paper.
FAQs
Q1: Can I use regular paper for embroidery?
A: It's best to use thick, high-quality paper such as cardstock. Regular paper is too thin and prone to tearing during the embroidery process.
Q2: How do I prevent the paper from tearing?
A: Use a sharp needle, reduce stitch density, and ensure the paper is properly secured to the stabilizer. Monitor the machine closely to catch any issues early.
Q3: What kind of stabilizer should I use?
A: Use a tear-away stabilizer to support the paper during stitching. It provides stability without adding bulk and can be easily removed after embroidery.
Q4: Can I digitize my own designs for paper embroidery?
A: Yes, you can use machine embroidery digitizing software to create or modify designs for paper embroidery. Ensure the designs are suitable for paper by reducing stitch density and simplifying details.
Q5: How do I choose the right thread for paper embroidery?
A: Use high-quality embroidery thread that complements your design. Test the thread on a scrap piece of paper to ensure it stitches smoothly without causing tears.