

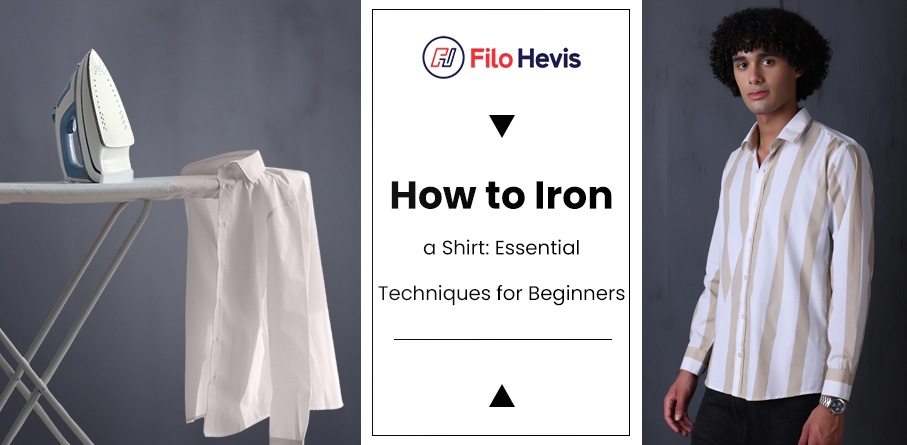
How to Iron a Shirt: A Beginner's Guide
Ironing a shirt is a basic yet essential skill that can significantly enhance your appearance and confidence. Whether you're preparing for a job interview, a formal event, or simply want to look polished, knowing how to iron a shirt properly can make all the difference. This beginner’s guide will walk you through the steps to iron a shirt efficiently and effectively.
1. Gather Your Tools
Before you start, make sure you have all the necessary tools at hand. You’ll need:
- An iron with adjustable temperature settings
- An ironing board
- A spray bottle filled with water
- A clean shirt to iron
- A hanger for the freshly ironed shirt
Having these tools ready will make the process smoother and help you iron a shirt more efficiently.
2. Prepare the Shirt
Start by checking the care label on your shirt to understand the recommended ironing temperature for the fabric. Shirts made of cotton or linen usually require a higher heat setting, while delicate fabrics like silk or synthetic blends need a lower temperature. If the shirt is heavily wrinkled, lightly spray it with water using the spray bottle. A slightly damp shirt irons more easily and produces a crisp finish.
3. Iron the Collar and Cuffs First
To begin ironing a shirt, start with the collar. Lay it flat on the ironing board and iron from the outer edges toward the center. Flip the collar over and repeat on the other side. Next, move on to the cuffs. Unbutton them and iron the inside first, followed by the outside, pressing firmly to remove any wrinkles.
4. Iron the Sleeves
Ironing the sleeves can be tricky, but with a bit of practice, you can get them looking sharp. Lay one sleeve flat on the ironing board, making sure the seams are aligned. Start ironing from the cuff toward the shoulder, using long, smooth strokes. Flip the sleeve over and repeat on the other side. Repeat the process for the second sleeve.
5. Iron the Front and Back of the Shirt
To iron a shirt effectively, start with the front panels. Begin with the side that has buttons, carefully working around them to avoid damage. Use the tip of the iron to navigate around the buttons. Next, iron the other front panel. After completing the front, turn the shirt over and iron the back, starting from the top and working your way down.
6. Finish and Hang the Shirt
Once you’ve finished ironing the shirt, carefully hang it on a hanger to maintain its wrinkle-free appearance. Let it cool down before putting it on or storing it in your closet. This will help keep the shirt crisp and neat.
Final Tips
- Always iron on a clean surface to avoid transferring dirt or stains to your shirt.
- Adjust the iron's temperature as needed for different fabrics to prevent burns or damage.
- Practice makes perfect, so don't be discouraged if your first attempts aren't flawless.
By following these steps, you’ll master the art of how to iron a shirt in no time, ensuring you always look your best with a perfectly pressed shirt.