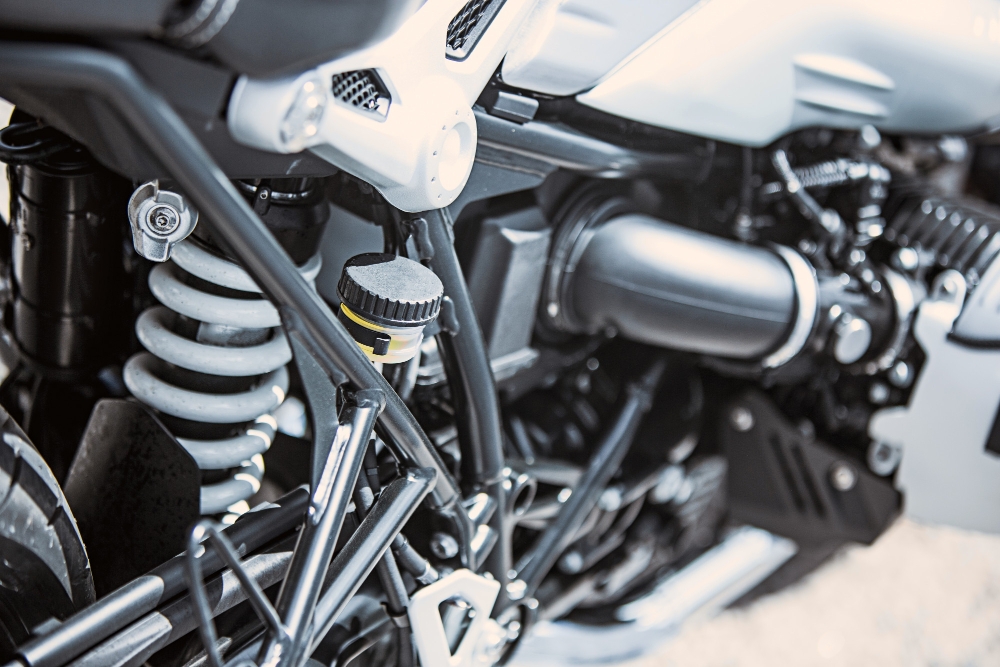
DIY Motorcycle Battery Maintenance Tips

Maintaining a motorcycle battery is necessary for ensuring your bike runs smoothly and reliably. Leaving your battery to deteriorate can cause a snowball effect of problems. Initially, you will feel slow starts, but after some time, a neglected battery is even capable of becoming the cause of low power and leaving you somewhere with a dead engine. Proper battery care is quite a simple way to ensure reliable runs on your motorcycle. Here are some detailed DIY tips for having proper care of your bike’s battery.
Safety First
Before servicing your bike’s battery, make sure you prepare yourself for any mishaps that may occur. Wearing protective gear like gloves and eye protection will prevent damage to oneself in case some dangerous chemicals leak or spill out from the batteries. Always turn off your bike, then proceed to disconnect the battery. Remember to take out the negative terminal before the positive terminal. This reduces the chances of receiving any electrical shock or short circuits in case the terminals touch metal parts on the bike or with your tools while trying to service the batteries.
Inspect the Battery
Now that you've safely disconnected the battery, you need to inspect it properly, checking whether there are any signs of corrosion, cracks, or leaks. Generally, corrosion mostly appears as white-colored or bluish gray residue. This is found right around the terminals of the battery. It can harmfully affect the performance of your battery. In case there is serious damage like cracks or leaks, it is time for a battery change since such problems are usually irreparable.
Clean the Terminals
Cleaning the terminals is an important step to a good electrical connection. Mix baking soda and water to neutralize any acid, clean terminals, and scrub corrosion off the terminals with the mixture. An old toothbrush can come in pretty handy to apply the mix. Then, clean everything with water and dry as best you can. A brush specifically designed for battery terminals will help to go through this process much more easily for a better clean.
Check the Electrolyte Levels
With a regular lead-acid battery, it's a good idea to check the electrolyte levels. To do so, you'll need to pop the caps off the tops of the battery cells and peer inside. The electrolyte is created when you add sulfuric acid to water. It should cover the battery plates. After that, add fresh distilled water to it if it's low. Be careful not to overfill it. Under no circumstances should tap water be used, because it lets impurities into the active battery material.
Test the Battery
Now that you have cleaned and refilled the battery, you need to test its condition. The method to implement this is the voltage test by using a digital multimeter. A great battery once it gets fully charged should read from 12.6 volts to 13.6 volts. When your reading gives you a value way too below, then you either have an undercharged battery or one that is getting towards the end of life. You can also load test it if you have the equipment to do so.
Charge the Battery
If you have a low voltage reading, then your battery needs recharging. You will be using a motorcycle-specific charger; be sure it is compatible with your battery type: lead-acid, AGM, or lithium. Be sure to follow the instructions of your charger, and avoid overcharging at all costs—it can be very harmful. Trickle chargers are excellent choices for providing a continuous charge for an extended time without the danger of overcharging.
Reconnect the Battery
Once the battery is fully charged and you've completed all the necessary checks and cleanings, it's time to reinstall it in your motorbike. Attach the positive terminal first, followed by the negative terminal. Ensure the connections are secure but avoid over tightening which can cause damage to the terminals.
Regular Maintenance
To extend the life of your battery, make regular maintenance a habit. Periodically check the terminals for corrosion, keep the battery clean, and ensure it's properly charged, especially during periods of inactivity. Investing in a battery tender can be beneficial for maintaining an optimal charge during off-seasons or longer periods without use.
Consistent care and periodic checks can significantly enhance the longevity and performance of your bike battery. By following these DIY tips, you'll ensure your motorbike remains reliable and ready for the road.
Key Takeaway
Regular and thorough maintenance of your motorcycle battery involves prioritizing safety by wearing protective gear and correctly disconnecting terminals, inspecting for damage and corrosion, cleaning terminals with a baking soda solution, checking and topping off electrolyte levels with distilled water in lead-acid batteries, and using a digital multimeter to test voltage. Ensure charging with a motorcycle-specific charger while avoiding overcharging, and reconnect terminals securely but not overly tight. Consistent checks for corrosion and cleanliness, along with the use of a battery tender during inactive periods, are crucial for extending battery lifespan and ensuring reliable bike performance.
- Industry
- Art
- Causes
- Crafts
- Dance
- Drinks
- Film
- Fitness
- Food
- Games
- Gardening
- Health
- Home
- Literature
- Music
- Networking
- Other
- Party
- Religion
- Shopping
- Sports
- Theater
- Wellness
- News


