

Mastering Efficient Multi-Position Embroidery Hoop Techniques
Embroidery has evolved significantly over the years, and with the advent of machine embroidery digitizing, it's now easier than ever to create intricate designs. One crucial aspect of modern embroidery is mastering multi-position hoop techniques. This guide will walk you through everything you need to know to efficiently use multi-position hoops, ensuring your projects are seamless and professional.
What is Machine Embroidery Digitizing?
Machine embroidery digitizing is the process of converting artwork into a digital file that an embroidery machine can read. This file guides the machine on how to stitch the design onto fabric. The benefits of machine embroidery digitizing are numerous. It allows for precise, repeatable designs, saves time compared to manual embroidery, and opens up endless possibilities for creativity.
Understanding Embroidery Hoops
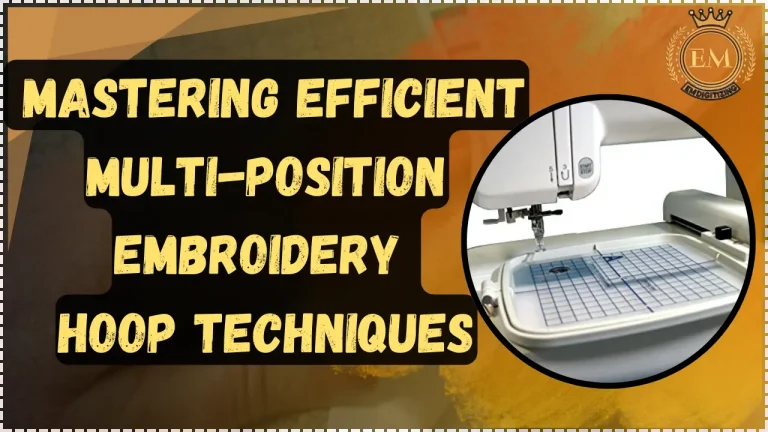
Embroidery hoops are essential tools that keep your fabric taut while you stitch. There are various types of hoops, including standard, spring tension, and multi-position hoops. Multi-position hoops, in particular, offer the advantage of allowing you to embroider larger designs by moving the hoop to different positions without re-hooping the fabric.
Preparing Your Design for Multi-Position Hooping
Before you begin, it's crucial to have the right software for digitizing embroidery designs. Programs like Wilcom, Hatch, and Brother's PE-Design are excellent choices. When creating your design, plan how it will be divided across the multiple positions of your hoop. This ensures that your design aligns correctly and looks cohesive.
Setting Up Your Multi-Position Hoop
Choosing the right hoop for your project is the first step. Consider the size of your design and the type of fabric you're using. Once you've selected your hoop, adjust it for multiple positions. This typically involves setting markers or guides that help you align the fabric correctly as you move the hoop.
Techniques for Efficient Multi-Position Hooping
Efficient multi-position hooping starts with planning your design layout. Break down your design into sections that fit within each hoop position. Hooping and re-hooping strategies are crucial; ensure your fabric remains taut and doesn’t shift. Aligning designs across multiple hoops can be challenging, but using alignment marks and templates can help achieve precision.
Troubleshooting Common Issues
Misalignment is a common issue in multi-position hooping. To avoid this, double-check your alignment marks and use templates. Fabric shifting can be minimized by ensuring the fabric is taut and using adhesive sprays if necessary. Adjusting thread tension is also essential to prevent puckering and ensure smooth stitches.
Advanced Tips for Professional Results
To achieve professional results, utilize templates and guides to keep your design aligned. Perfecting your stitch density ensures your design looks consistent and professional. Experiment with different fabrics to understand how they react to multi-position hooping, as some fabrics may require different techniques or adjustments.
Case Study: Successful Multi-Position Hooping Project
Let's look at a real-world example. A project involved creating a large floral design on a quilt. The steps included selecting the right hoop, planning the design layout, and using alignment marks. The result was a beautifully embroidered quilt with seamless transitions between hoop positions.
Conclusion
Mastering multi-position hoop techniques takes practice, but with the right tools and strategies, you can create stunning, professional-looking embroidery projects. Remember to plan your design, ensure proper alignment, and troubleshoot common issues to achieve the best results.
FAQs
1. What is the best software for digitizing embroidery designs? The best software includes Wilcom, Hatch, and Brother's PE-Design. These programs offer comprehensive tools for creating detailed embroidery designs.
2. How can I prevent my fabric from shifting during hooping? Ensure your fabric is taut within the hoop and use adhesive sprays or stabilizers to minimize shifting.
3. What are some common mistakes to avoid in multi-position hooping? Common mistakes include misalignment of designs, not keeping the fabric taut, and incorrect thread tension. Using alignment marks and templates can help avoid these issues.
4. How do I ensure my designs align perfectly across multiple hoops? Use alignment marks, templates, and guides to maintain precision. Double-check your positioning before stitching.
5. Can I use multi-position hooping on all types of fabric? Most fabrics can be used with multi-position hooping, but some may require specific techniques or adjustments. Experiment with different fabrics to understand their behavior.