

DIY Lipstick: Making Your Own Natural Lip Colors at Home
Creating your own lipstick at home is not only a fun and creative project but also a way to ensure that the ingredients are natural and safe for your lips. In this guide, we will walk you through the process of making your own natural lip colors at home. Whether you're looking to avoid harmful chemicals or just want to experiment with custom shades, this DIY project is perfect for you.
Why Choose DIY Lipstick?
Homemade lipstick allows you to control what goes into your product, ensuring that only natural ingredients are used. This is particularly beneficial for individuals with sensitive skin or allergies to certain chemicals found in commercial lipsticks. Additionally, making your own lipstick can be a cost-effective alternative to purchasing high-end brands.
Ingredients and Tools You Will Need
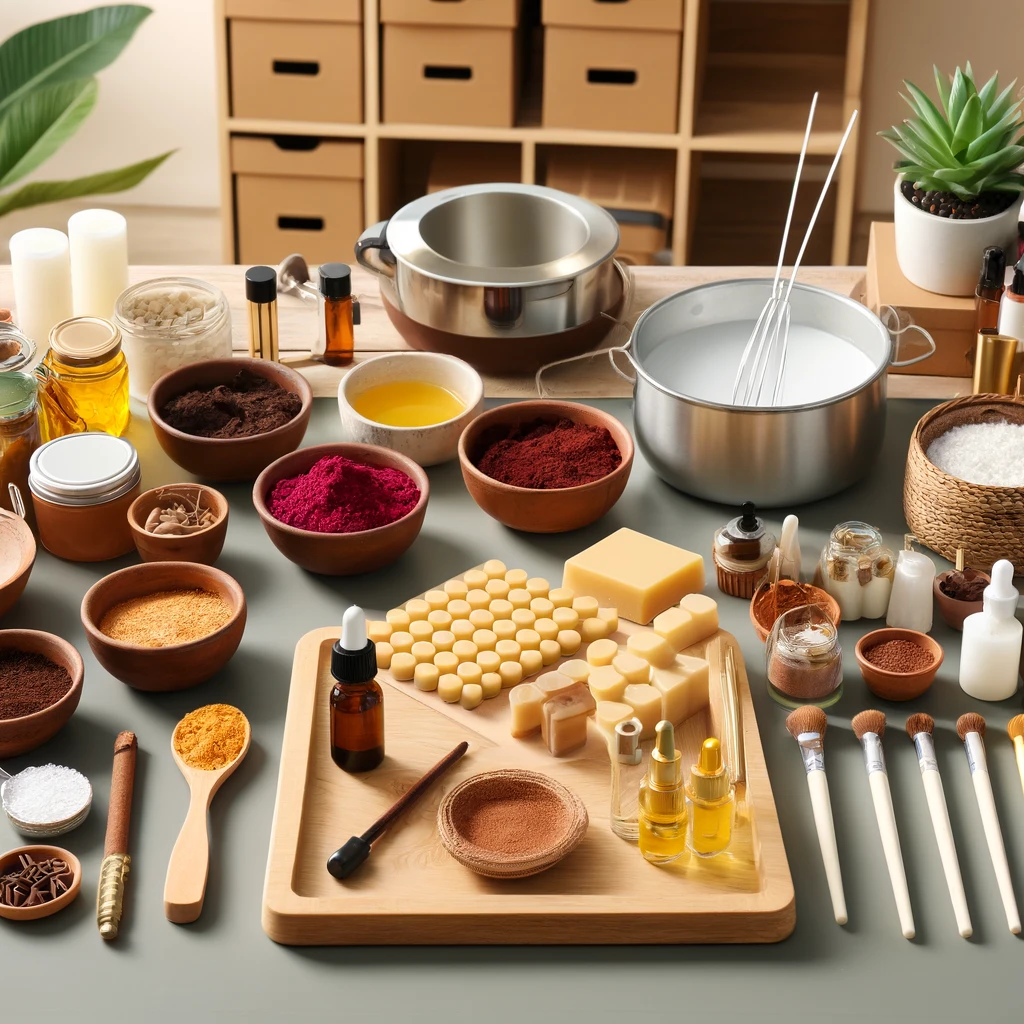
To create your own natural lipstick, you will need the following ingredients:
- Beeswax: Provides structure and hardness to the lipstick.
- Shea Butter or Cocoa Butter: Adds moisture and smoothness.
- Coconut Oil:Helps to hydrate and add shine.
- Essential Oils (optional): For fragrance.
- Natural Colorants: Such as beetroot powder, cocoa powder, or mica powder.
You will also need the following tools:
- Double Boiler: For melting ingredients.
- Mixing Spoons: For blending the ingredients.
- Lipstick Molds or Empty Lipstick Tubes: For shaping your lipstick.
- Pipette: For transferring the mixture into molds or tubes.
Step-by-Step Guide to Making Natural Lipstick
1. Prepare Your Work Area
Start by setting up a clean workspace. Gather all your ingredients and tools. It's important to have everything within reach to ensure a smooth process.
2. Melt the Base Ingredients
Using a double boiler, melt 1 tablespoon of beeswax, 1 tablespoon of shea butter (or cocoa butter), and 1 tablespoon of coconut oil. Stir the mixture continuously until all ingredients are fully melted and combined.
3. Add Color and Flavor
Once the base ingredients are melted, remove the mixture from heat. Add your chosen natural colorants. For instance, you can use 1/2 teaspoon of beetroot powder for a red tint or cocoa powder for a brown shade. Mix thoroughly to ensure even distribution of color. If desired, add a few drops of essential oil for fragrance.
4. Pour into Molds or Tubes
Using a pipette, carefully transfer the mixture into lipstick molds or empty lipstick tubes. Allow the lipstick to cool and harden completely. This can take a few hours at room temperature or can be expedited by placing the molds in the refrigerator.
5. Final Touches
Once the lipstick is fully hardened, remove it from the molds or ensure the tubes are properly sealed. Your natural homemade lipstick is now ready to use.
Packaging Your DIY Lipstick
If you are planning to gift your homemade lipsticks or start a small business, consider investing in **custom lipstick boxes**. These boxes not only provide a professional look but also protect the product. Companies like ZEE Custom Boxes UK offer a variety of customizable packaging solutions that can help your DIY lipsticks stand out.
Benefits of Natural Lipstick
Homemade natural lipsticks offer numerous benefits:
- Safety: Free from harmful chemicals and synthetic ingredients.
- Customization: Ability to create unique shades tailored to your preference.
- Sustainability: Reduce waste by reusing containers and choosing eco-friendly packaging.
- Cost-Effective: Save money by making lipsticks at home rather than purchasing high-end brands.
Tips for Perfecting Your DIY Lipstick
- Experiment with Shades:** Don’t hesitate to mix different natural colorants to create custom shades.
- Texture Control:** Adjust the amount of beeswax and oil to achieve your desired consistency. More beeswax will make the lipstick harder, while more oil will make it softer.
- Storage: Store your homemade lipsticks in a cool, dry place to prevent melting.
Conclusion
Making your own natural lipstick at home is a rewarding experience that allows you to customize your lip color while ensuring that the ingredients are safe and natural. By following this guide, you can create beautiful, nourishing lipsticks that are free from harmful chemicals. Whether for personal use or as a thoughtful gift, DIY lipsticks are a fantastic way to enjoy beauty products that are both eco-friendly and skin-friendly.
If you decide to package your lipsticks for sale or gifts, remember to consider quality packaging solutions like ZEE Custom Boxes UK from trusted suppliers. Happy crafting!