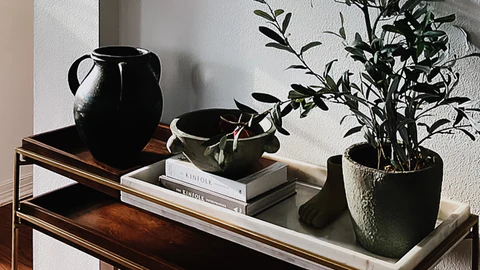
DIY Concrete Bowl: Craft Your Own Minimalist Masterpiece

Are you looking to add a touch of industrial chic to your home decor? Crafting a DIY concrete bowl is the perfect project to achieve a stylish and minimalist look. Not only will you have a unique piece to display, but you’ll also enjoy the satisfaction of creating something with your own hands. Let’s dive into the step-by-step process of making your own concrete bowl.
Materials You’ll Need:
1. Concrete Mix: You can find this at your local hardware store. Opt for a fine-grain concrete mix for a smoother finish.
2. Water
3. Plastic or Silicone Bowl: This will serve as the mold for your concrete bowl. Choose a shape and size that you like.
4. Cooking Spray or Petroleum Jelly: To coat the inside of your mold and prevent the concrete from sticking.
5. Rubber Gloves: Protect your hands from the concrete mixture.
6. Mixing Container: A plastic bucket or disposable container works well.
7. Stirring Stick: Use a wooden stick or plastic spoon for mixing.
8. Sandpaper: For smoothing rough edges.
9. Plastic Wrap
10. Optional: Pigments or Concrete Dye - If you want to add color to your bowl.
Step 1: Prepare Your Workspace
Set up a well-ventilated area, preferably outdoors or in a garage. Lay down a drop cloth or plastic sheet to catch any spills.
Step 2: Prepare Your Mold
Coat the inside of your plastic or silicone bowl with cooking spray or petroleum jelly. This will make it easier to remove the concrete once it’s set.
Read Here More About DIY Concrete Bowl: Craft Your Own Minimalist Masterpiece
- Industry
- Art
- Causes
- Crafts
- Dance
- Drinks
- Film
- Fitness
- Food
- Games
- Gardening
- Health
- Home
- Literature
- Music
- Networking
- Other
- Party
- Religion
- Shopping
- Sports
- Theater
- Wellness
- News


