

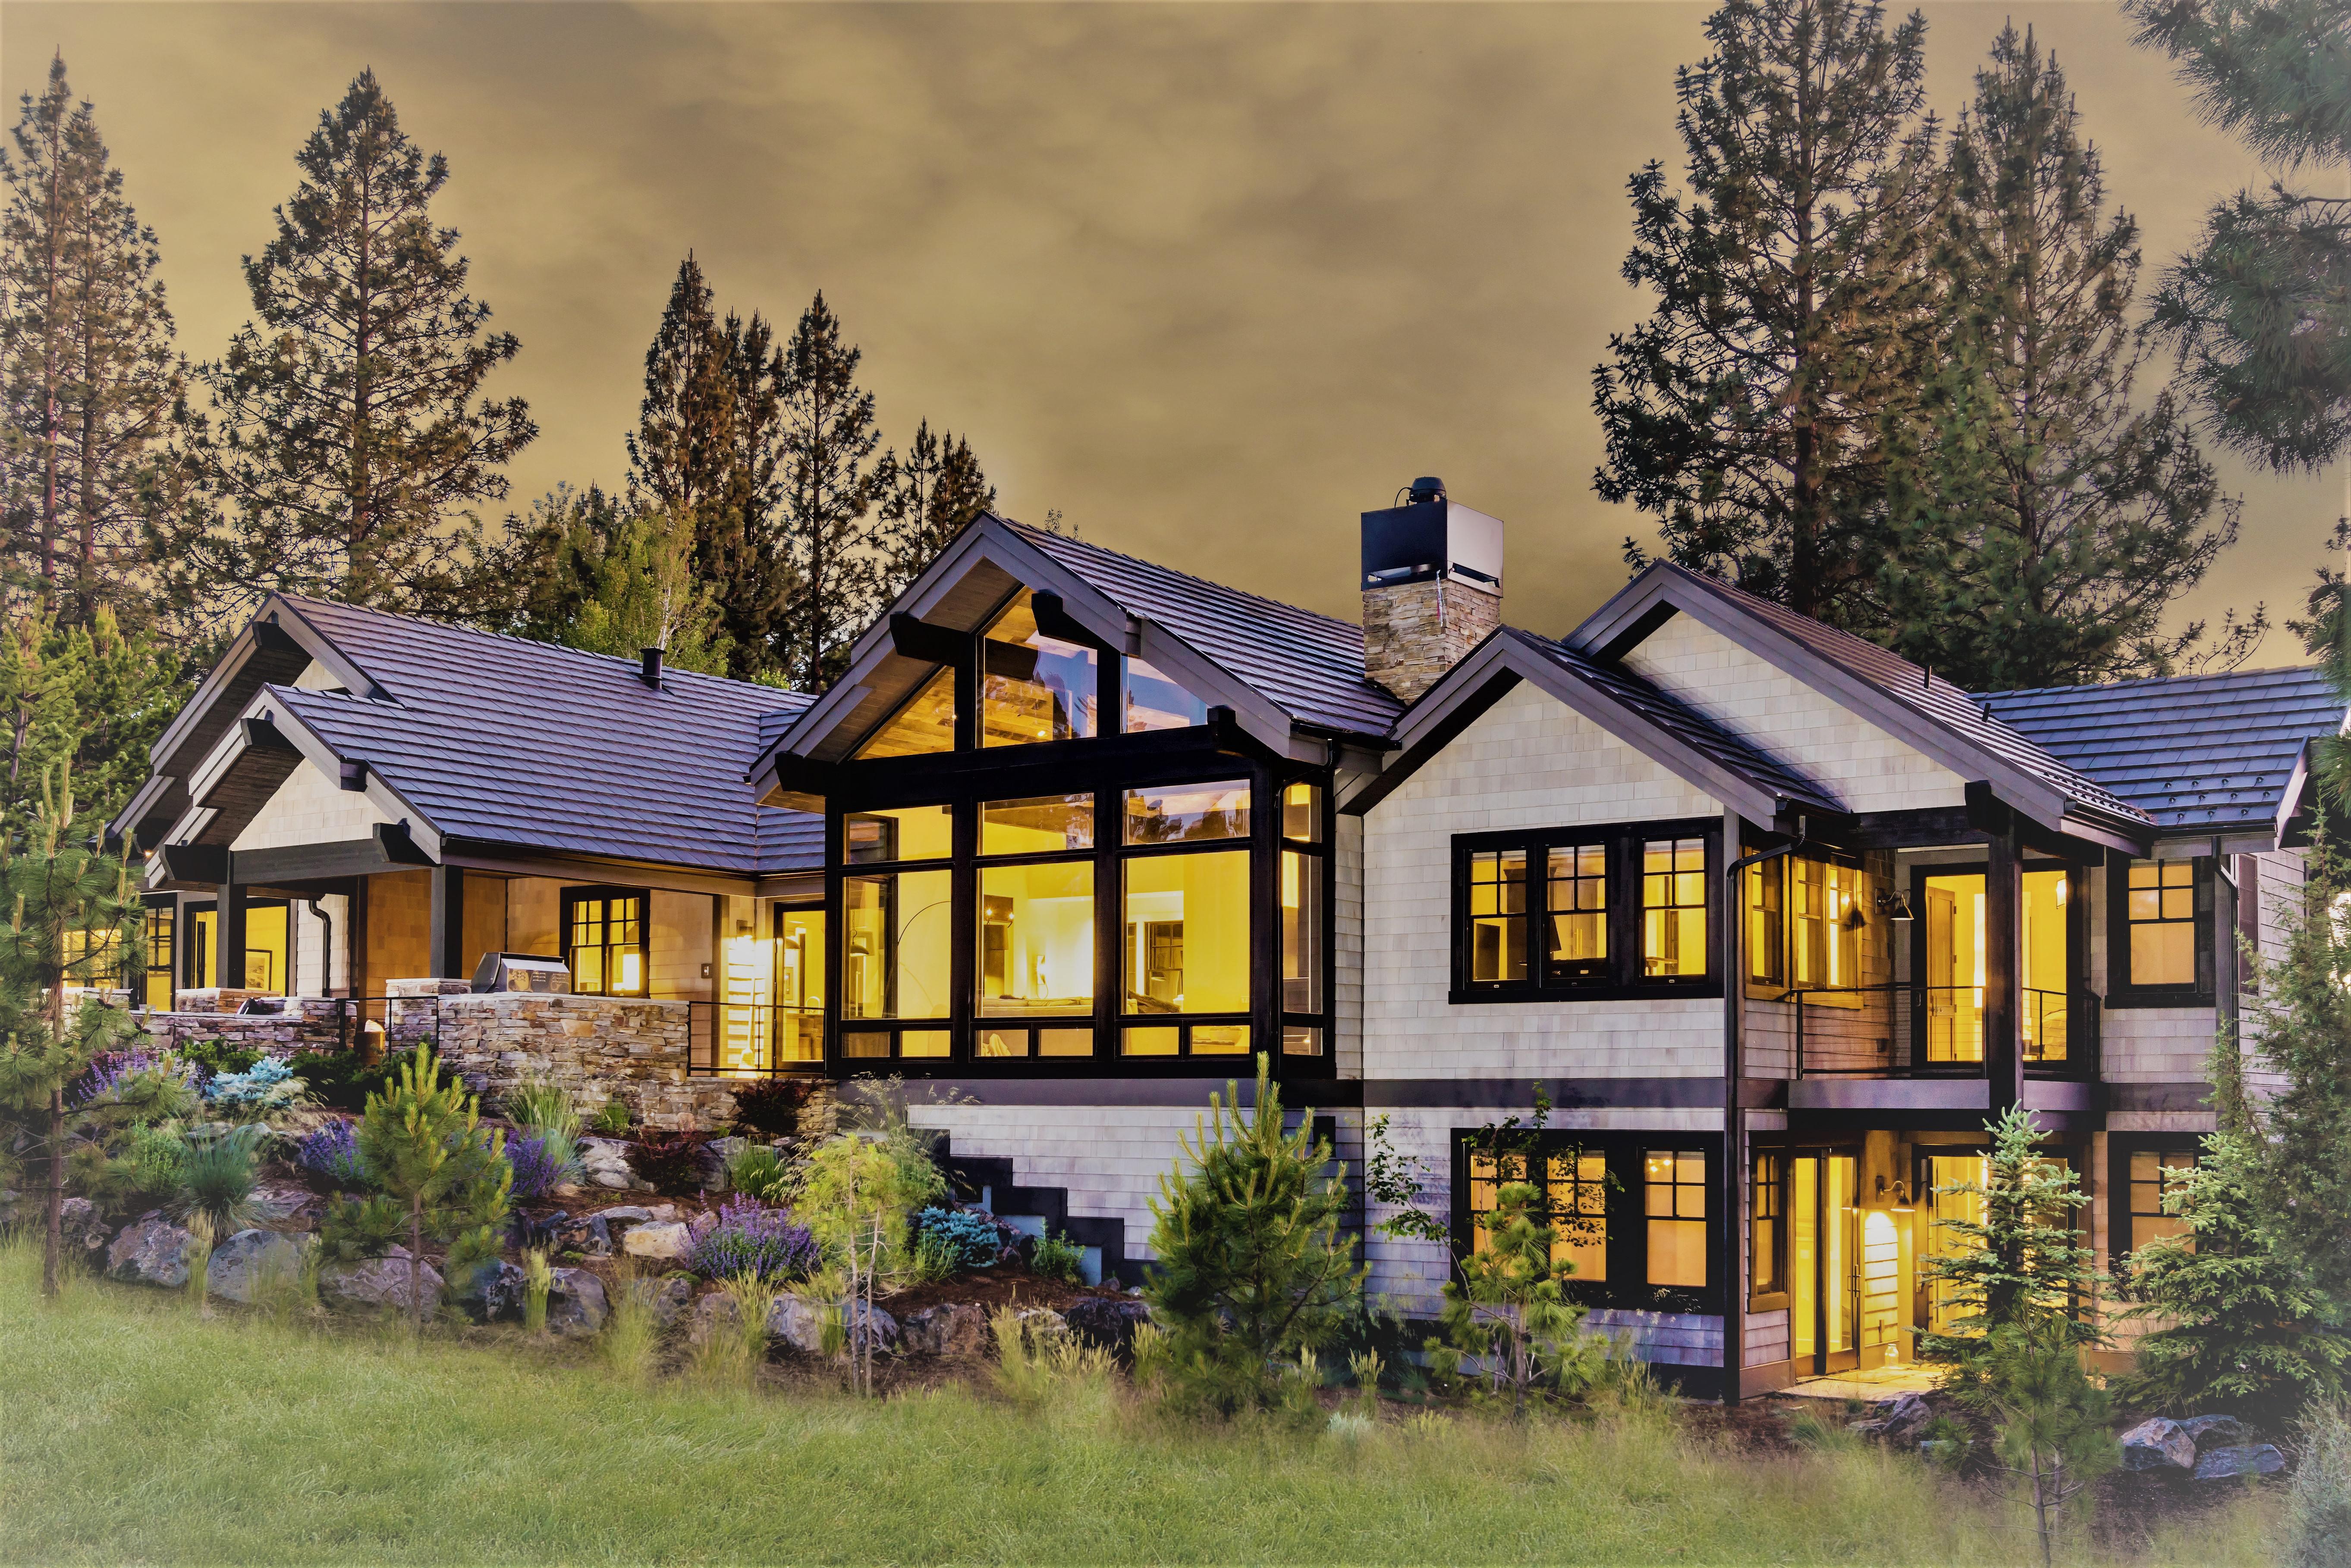
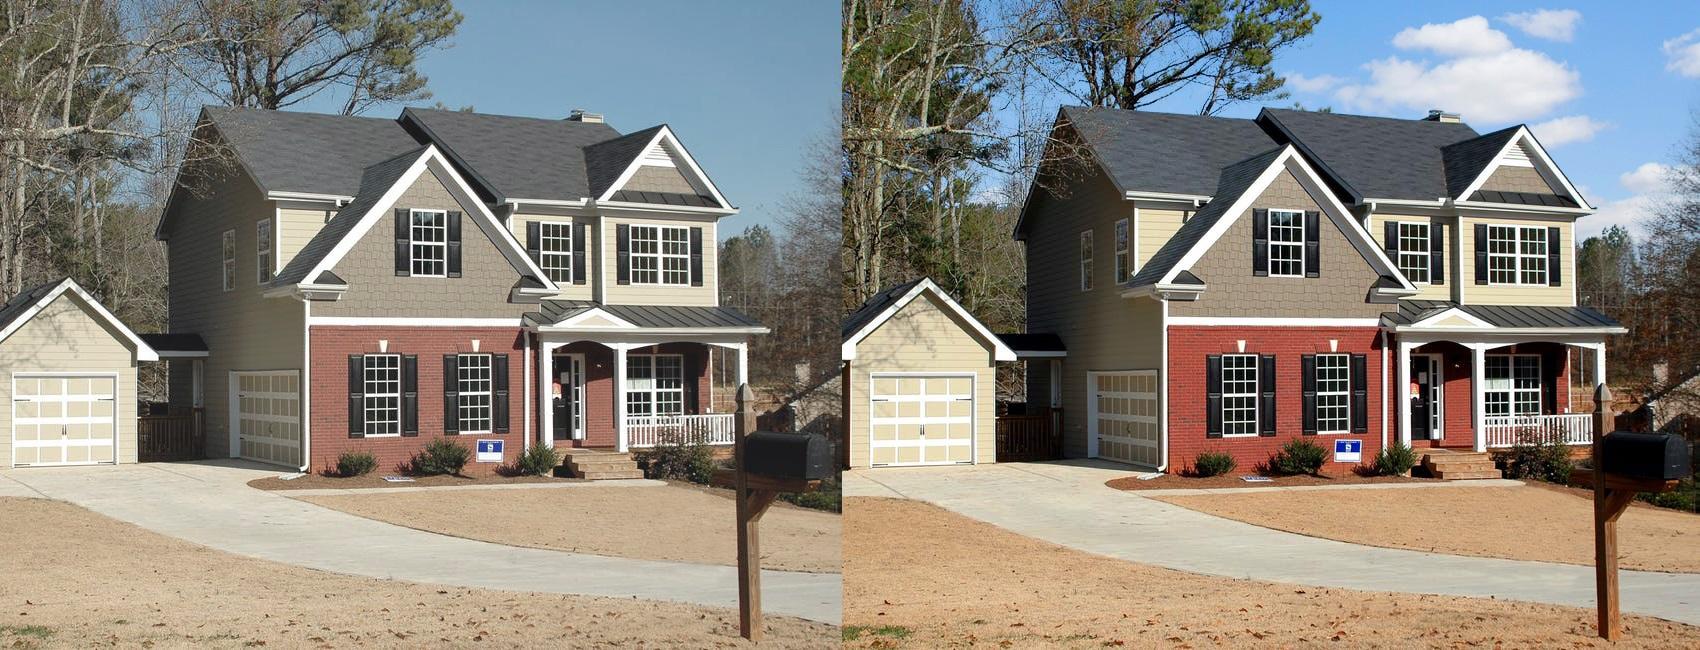
When retouching real estate photos, it is important to maintain the original photo's appearance. Typically, a gloomy or overcast day will have a flat, uninteresting appearance. Skilled retouchers will be able to replace an overcast sky with a sunny one. They can also adjust the color gamut and increase or decrease the brightness of the picture.
To make the image more attractive, you can use the Photoshop tool to remove unwanted elements from the frame. Some examples of this are painting on walls, unwanted objects, and overhead wiring. The photo can also have red-eye correction and cropping. Once you've done this, you can post the retouched image on any platform. If you're a realtor, you can also use the tool to remove unwanted elements from the photograph.

One of the first steps in retouching real estate photos is to correct colour and saturation. While you can use Photoshop and Lightroom for this, Lightroom is easier to use. To correct the colour, you can click on a neutral area in the image. Then, adjust the hue and saturation of the photo to make it look as realistic as possible. Then, apply the correct mask to the photo, retouching it to perfection!
While it is possible to retouch a real estate photo using Photoshop, it is important to keep in mind that the photos should be as natural as possible. You must ensure that the photo still has a professional look that sells the property. By applying the correct retouching techniques, you can enhance a real estate photo and get the best possible result. There are several types of real estate photography. A photo editor can use any of them to improve your images.
The tools used to retouch real estate photo include the Rectangular Marquee tool, which is part of the toolbar. On the Edit menu, you can also select Transform and Skew. The latter two tools are essential for editing any real estate photo. Aside from boosting flat tones, they also allow you to improve color, hue, and saturation. However, you need to be aware of the accumulation of temporary data on the computer, which can result in scratch disk-related errors.
If you are a professional real estate photographer, you should understand the editing process and the steps needed to create the desired result. The right amount of editing can increase engagement and establish credibility in the business. The edited images can be used in communication, branding, and marketing. Regardless of how you plan on using the final images, the importance of retouching real estate photos cannot be overemphasized. Once you master the process of post-processing, real estate photography will be a breeze.
Creating an attractive image for your real estate property is a crucial first step to selling a property. A well-balanced photo shows each room in its best light and will inspire potential buyers to explore the property. An unappealing photograph will turn off a potential client. With the right editing tools, you can bring an average photo to life. The following are six common photo editing techniques that can help you create a stunning real estate photo.

When editing your real estate photo, make sure that the image is cropped to match the listing page. Using a different photo on social media can make your posts look unprofessional. Ideally, your real estate objects occupy most of the frame. Moreover, you should crop the photo correctly, as it may look unprofessional if your real estate objects do not fill the entire frame. When you use TouchRetouch, you can edit a photo easily with just a few clicks.
The color palette of your real estate photo is affected by interior lighting, external weather, window tint, and more. You can fix these problems by performing color correction, but remember to avoid making color changes that are too extreme. Regardless of how much you retouch a real estate photo, it is critical to maintain a consistent color palette. Having a high color accuracy will attract potential homebuyers or turn them off.